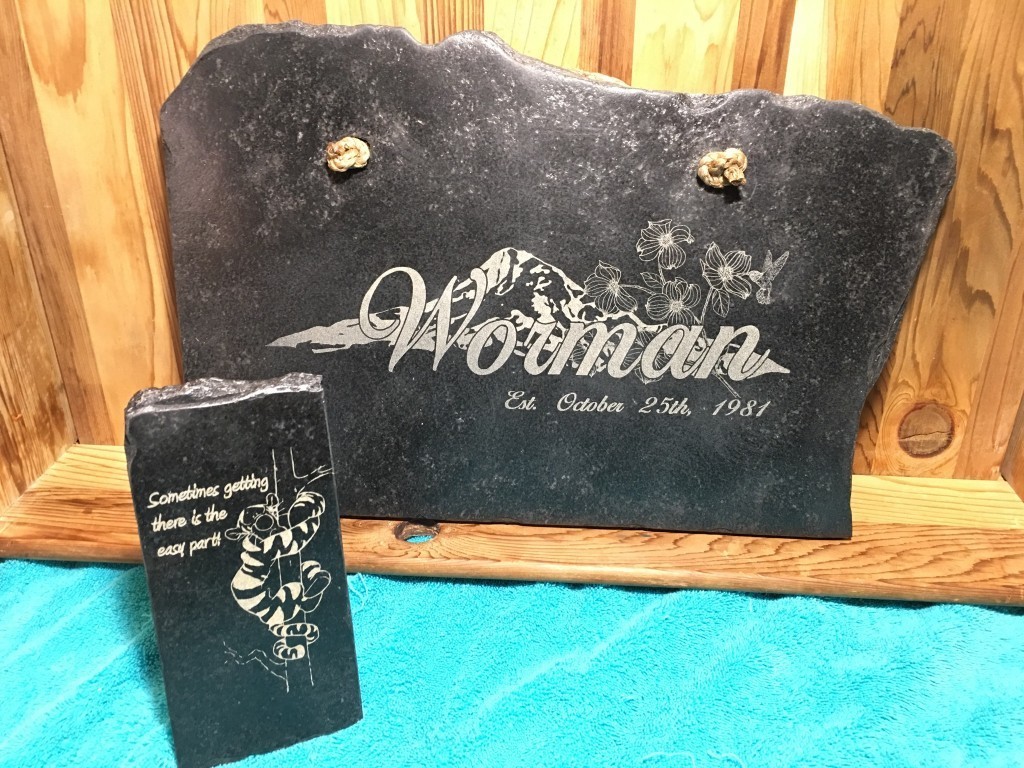
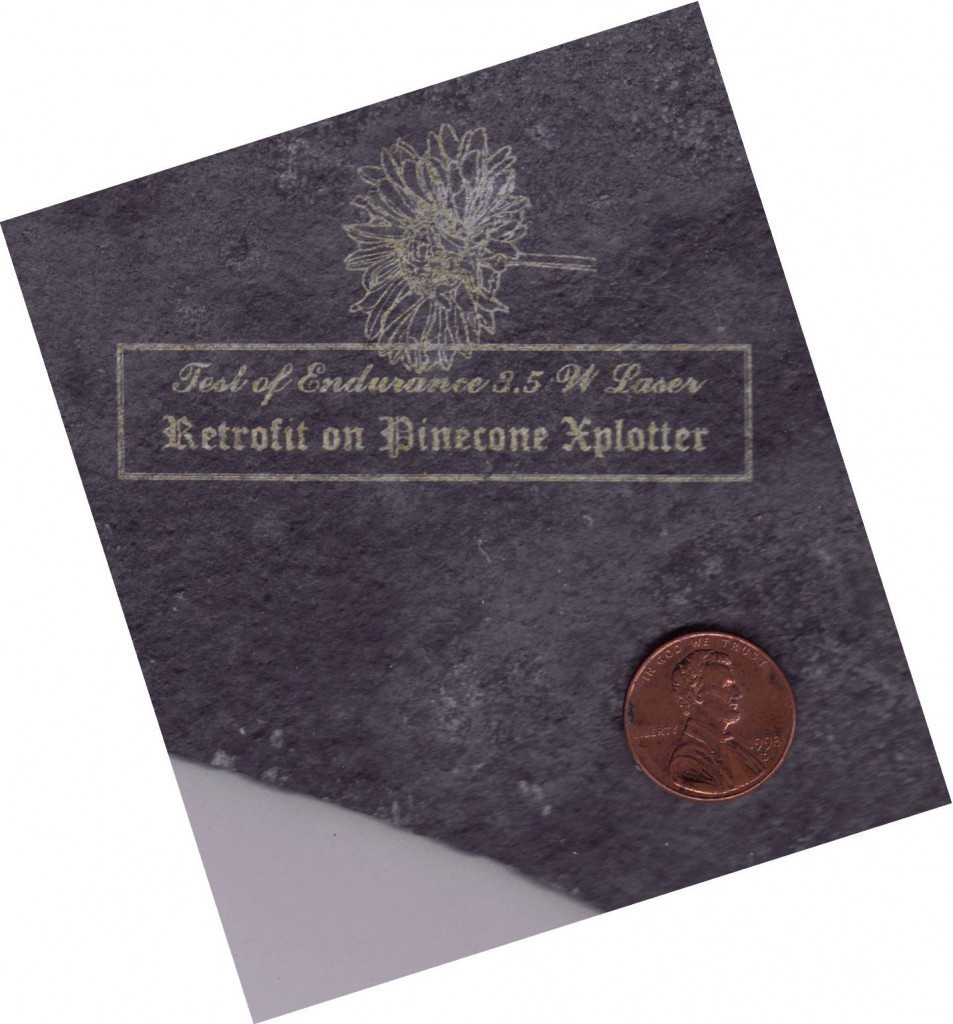
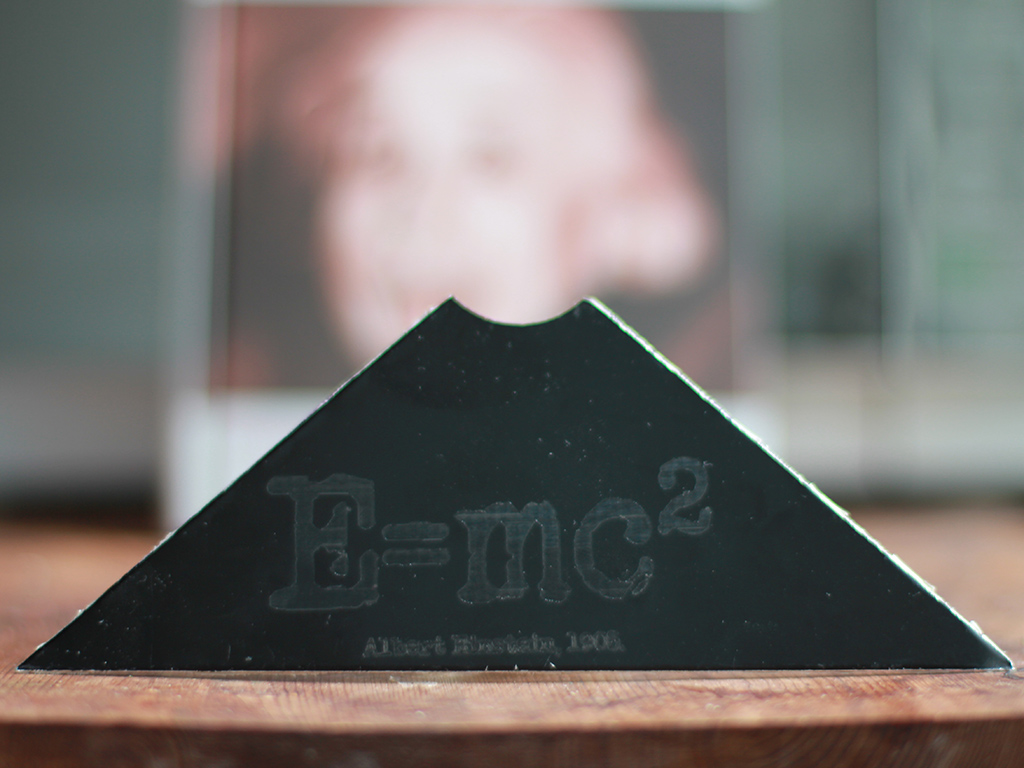
It engraves on a great variety of surfaces including acrylic, glass, stone. Can cut 2-3 mm (1/8'') of acrylic with a single pass. Can be used combining with electrolysis & etching.
Upgrade your 3D printer or CNC machine. Easy to mount and install.
$295
We accept: Bitcoins and Litecoins Fast & secure delivery by * the maximum peak power output in the impulse mode. Continuous power may be a bit less.
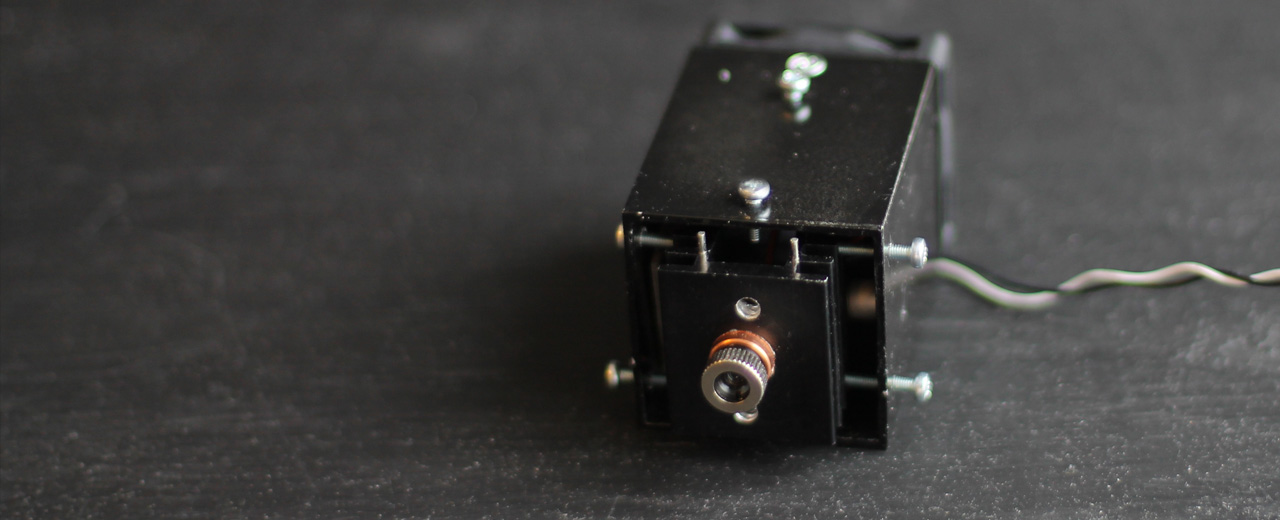
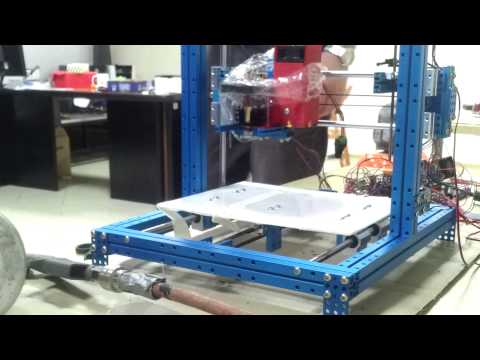
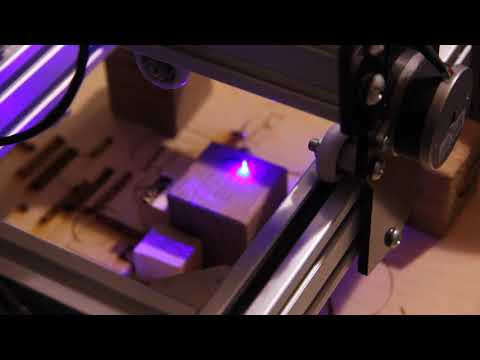
The Endurance 3 – 3.5 watt (3000 – 3500 mw) diode laser head. A solid-state laser accessory (attachment) for your 3D printer or CNC machine (router)
Looking for an advanced engraving / cutting system? Do you already have a 3D printer or CNC machine?
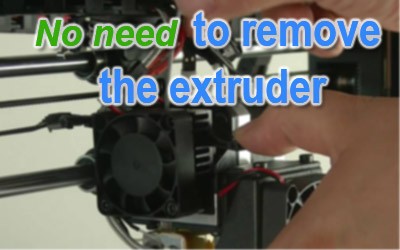
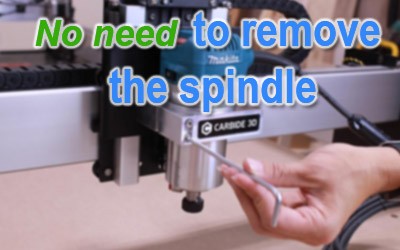
Order a 3-3.5 watt (3000-3500 mw) laser add-on for your 3D printer or CNC machine. It takes only 15-30 minutes to install it. Use the same software to create a g-code for engraving/cutting.
№1 customer support for 3D printer / CNC machine users. Use the same slicers you always use on your 3D printer: Cura, Repetier, Slic3r, Simplify3D or CNC software like Mach3, etc. To prepare a g-code use an the Endurance plugins or the T2Laser software.
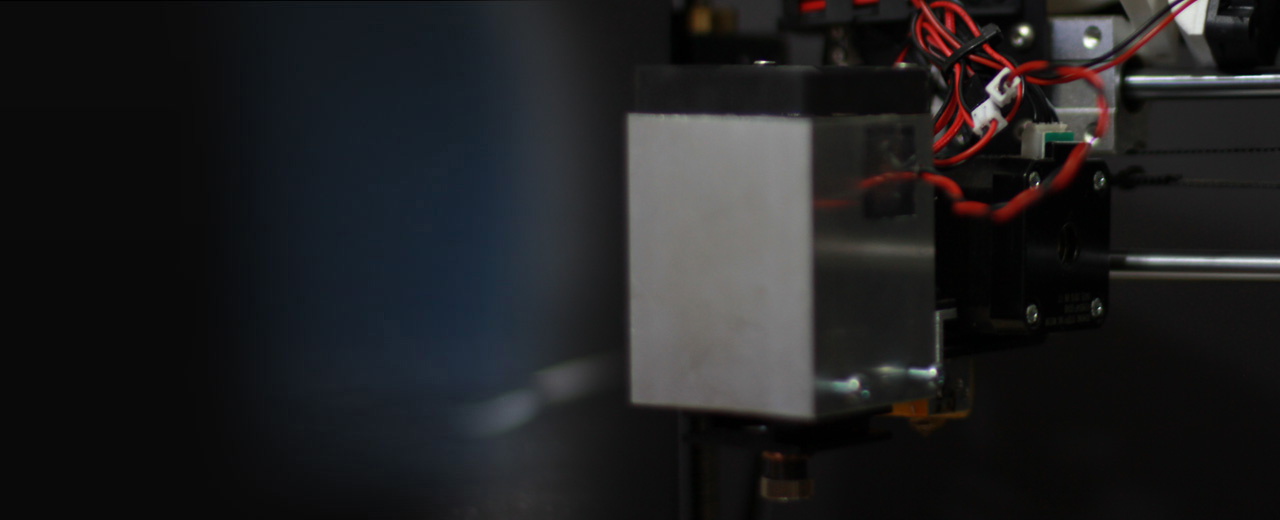
Did you consider to turn your 3D printer or CNC machine into a powerful and portable laser engraving or cutting machine? In 2015 Endurance invented a way to convert your 3D printer or CNC router into a cutting or the engraving machine with an Endurance diode laser add-on. The Endurance laser is the best upgrade for your existing 3D printer or CNC. Add to your 3D printing machine and ultimate ability to cut and engrave.
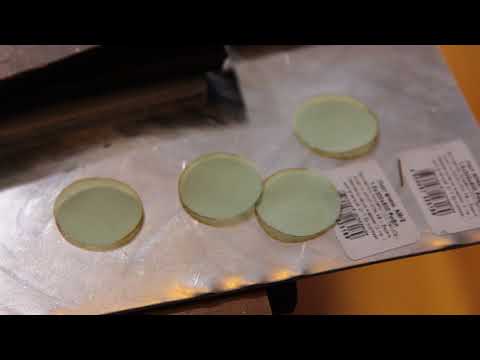
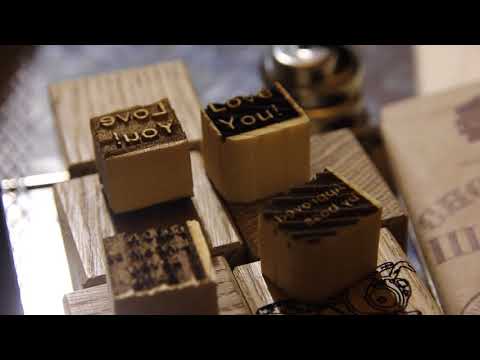
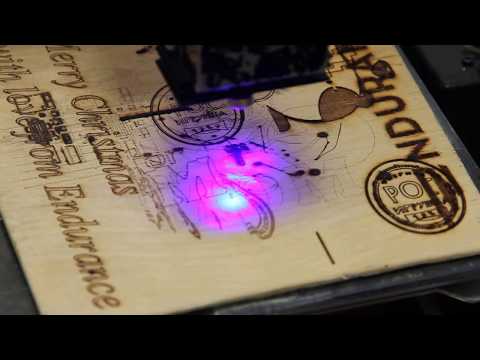
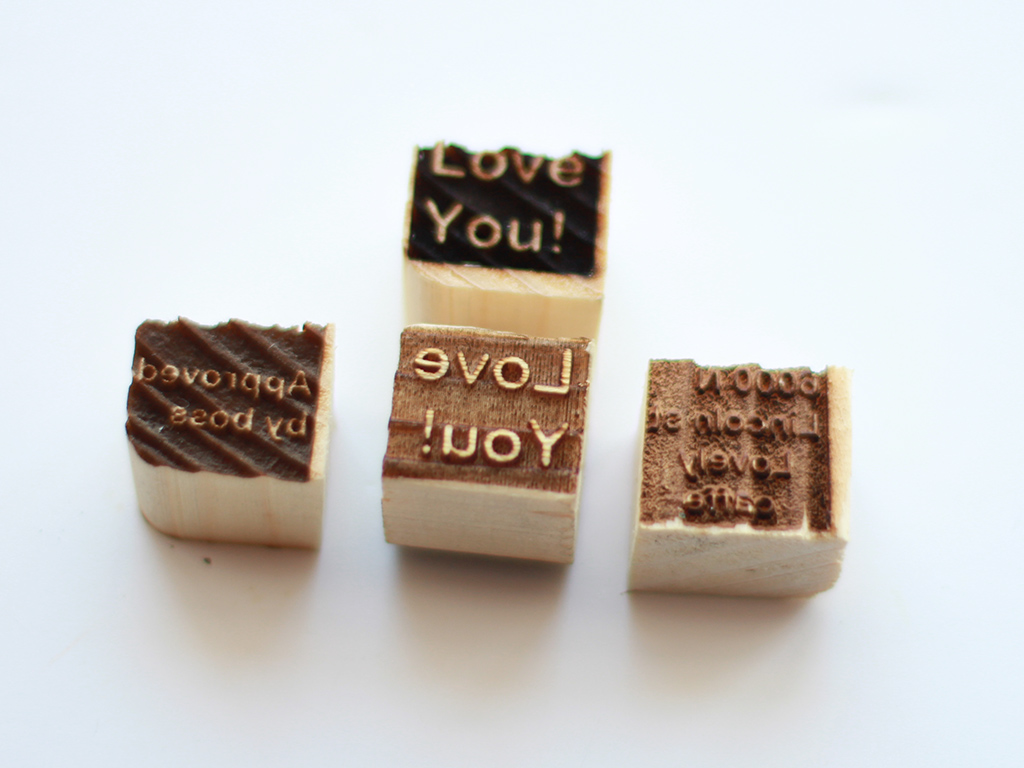
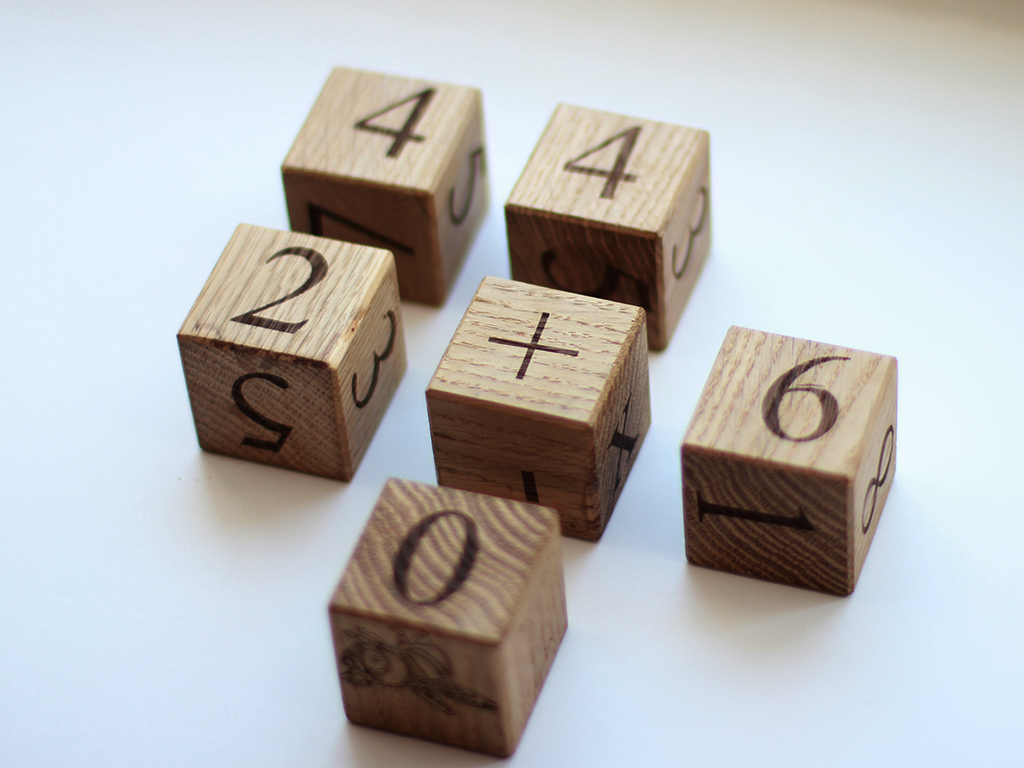
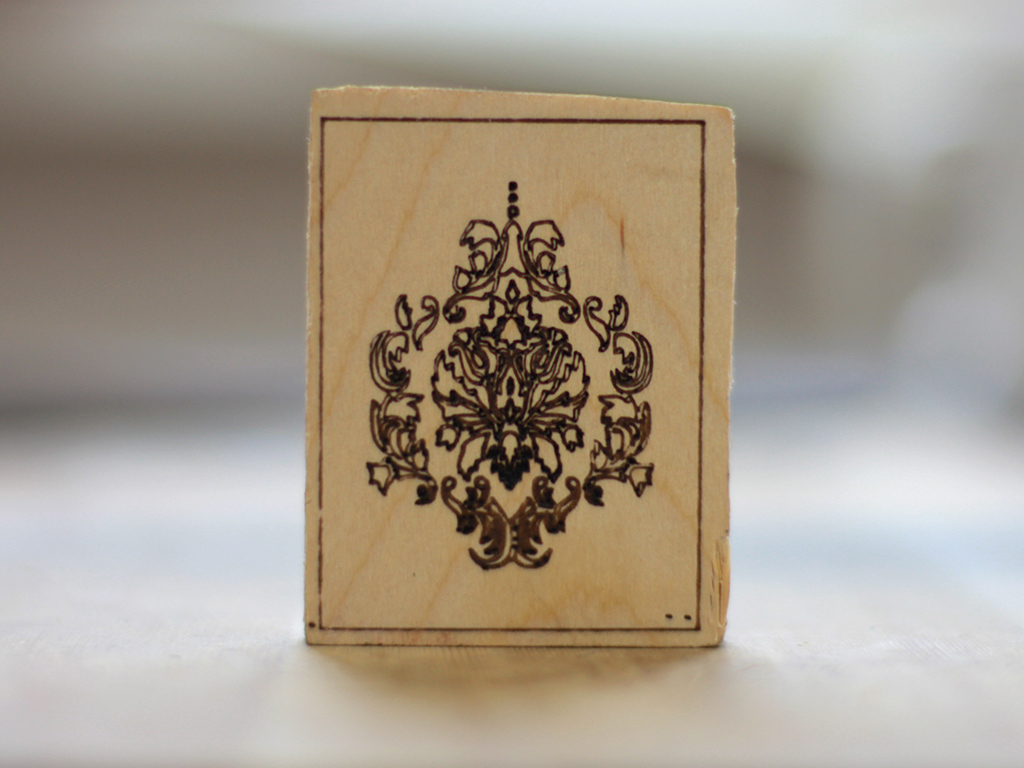
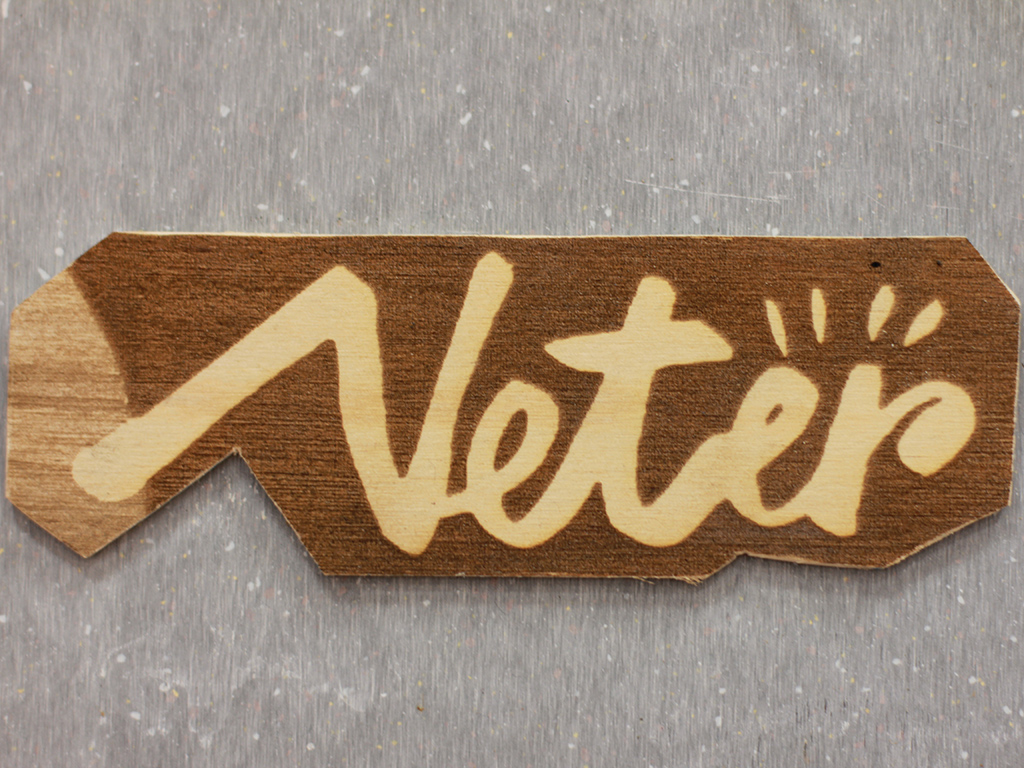
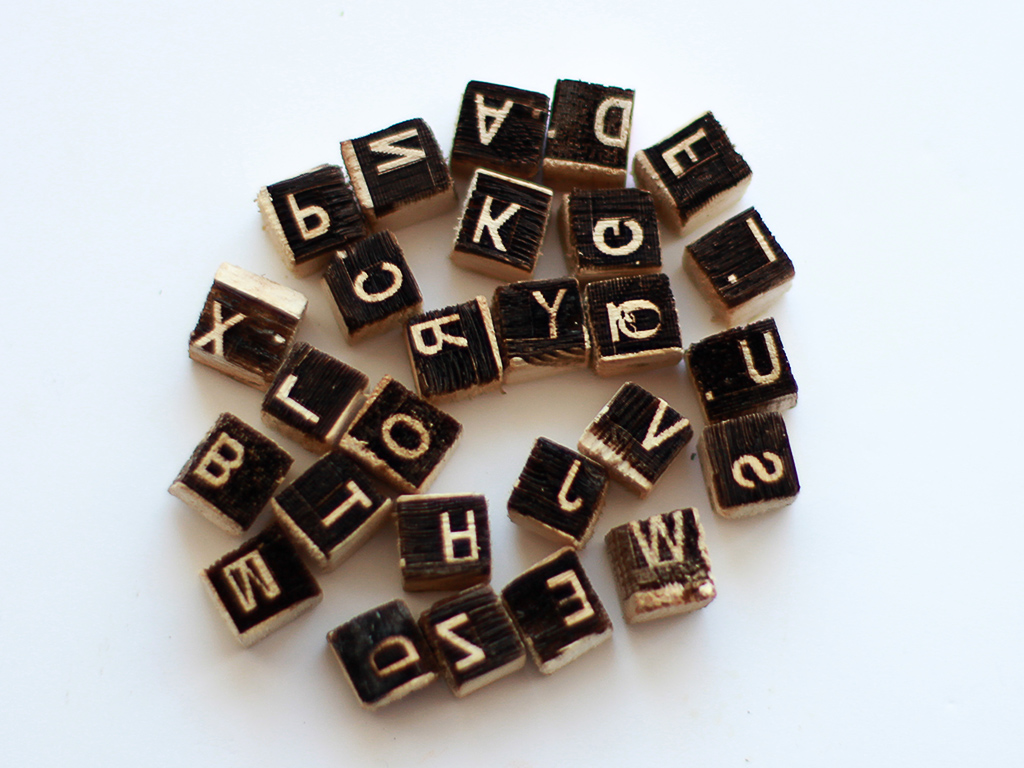
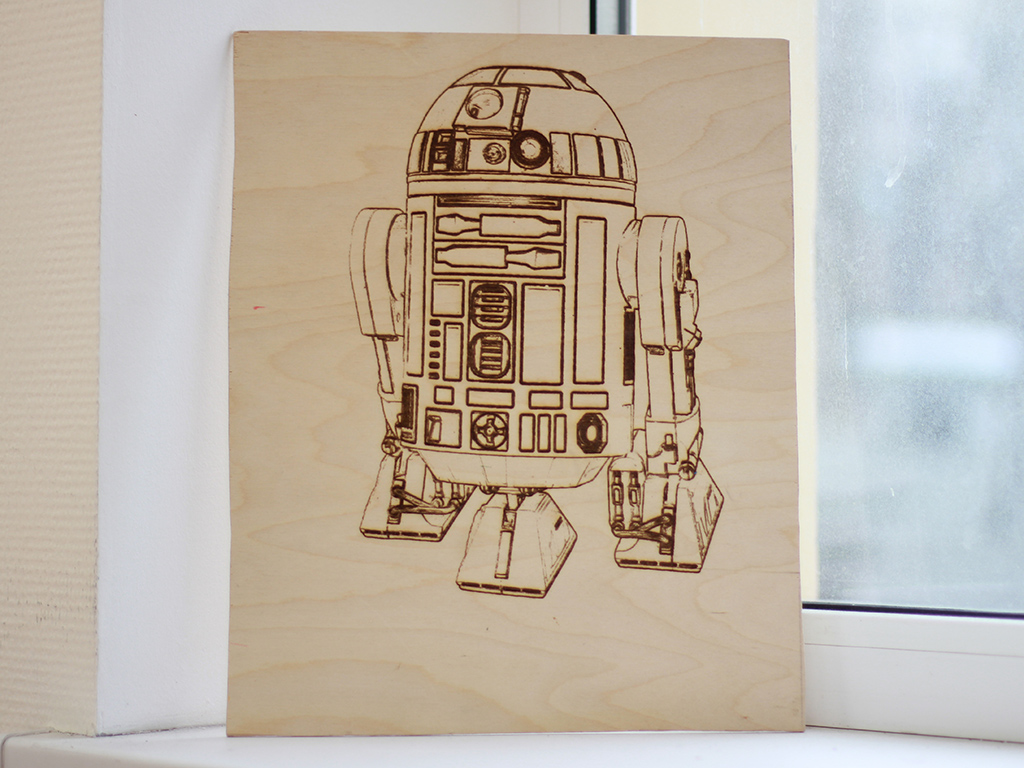
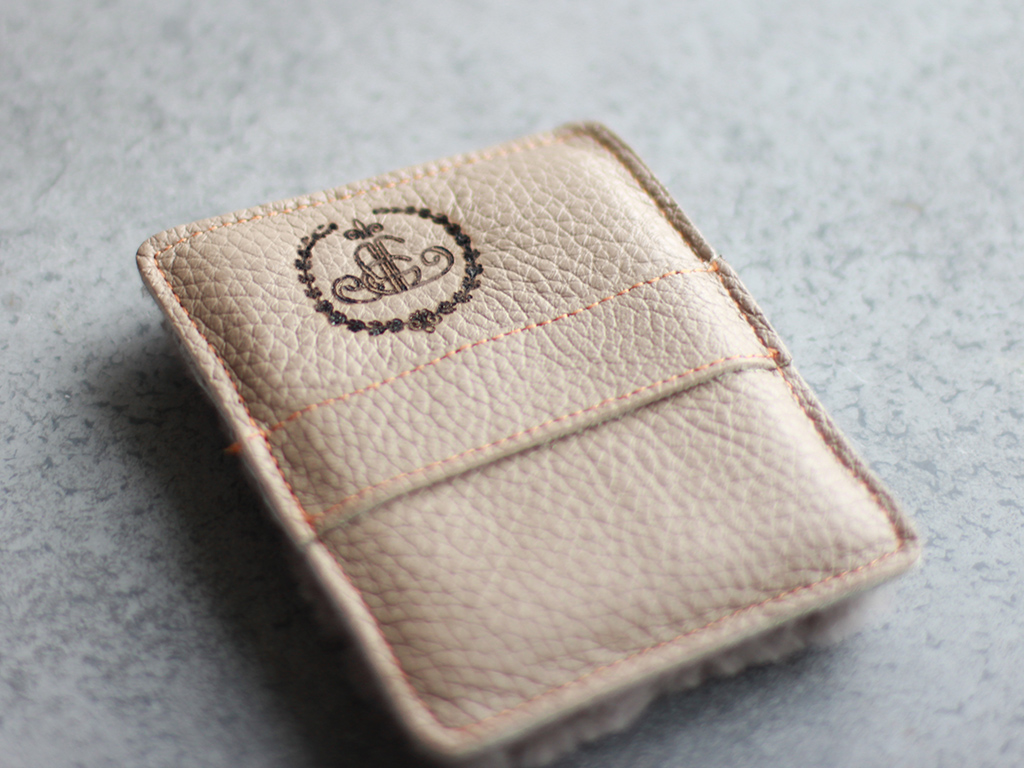
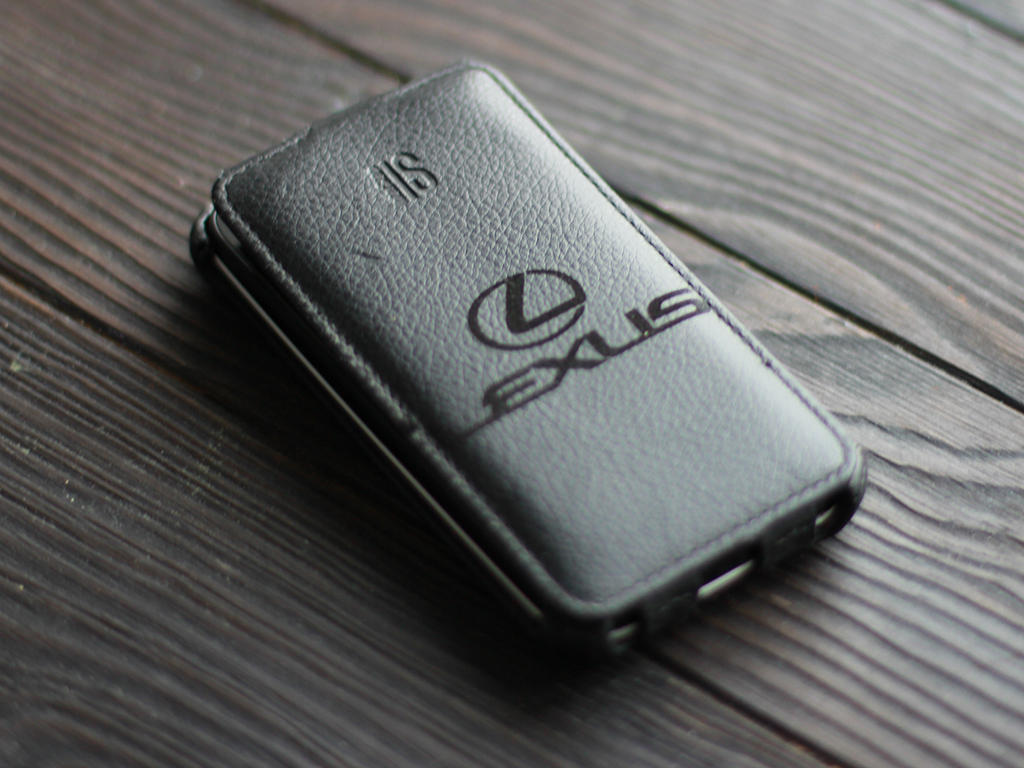
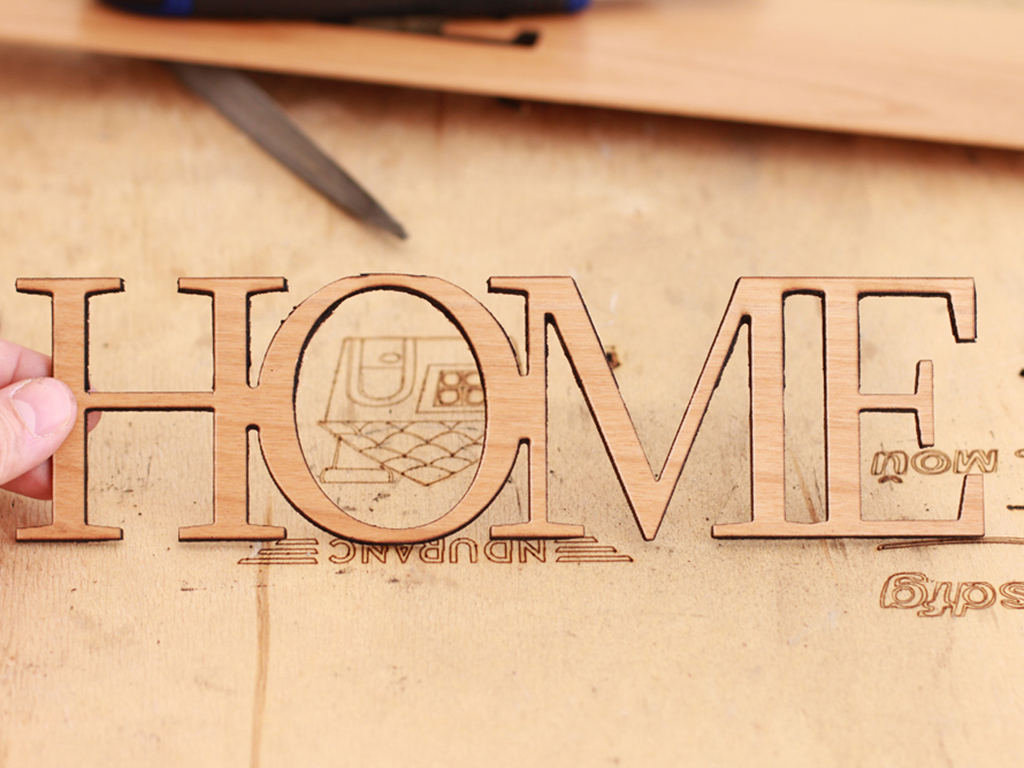
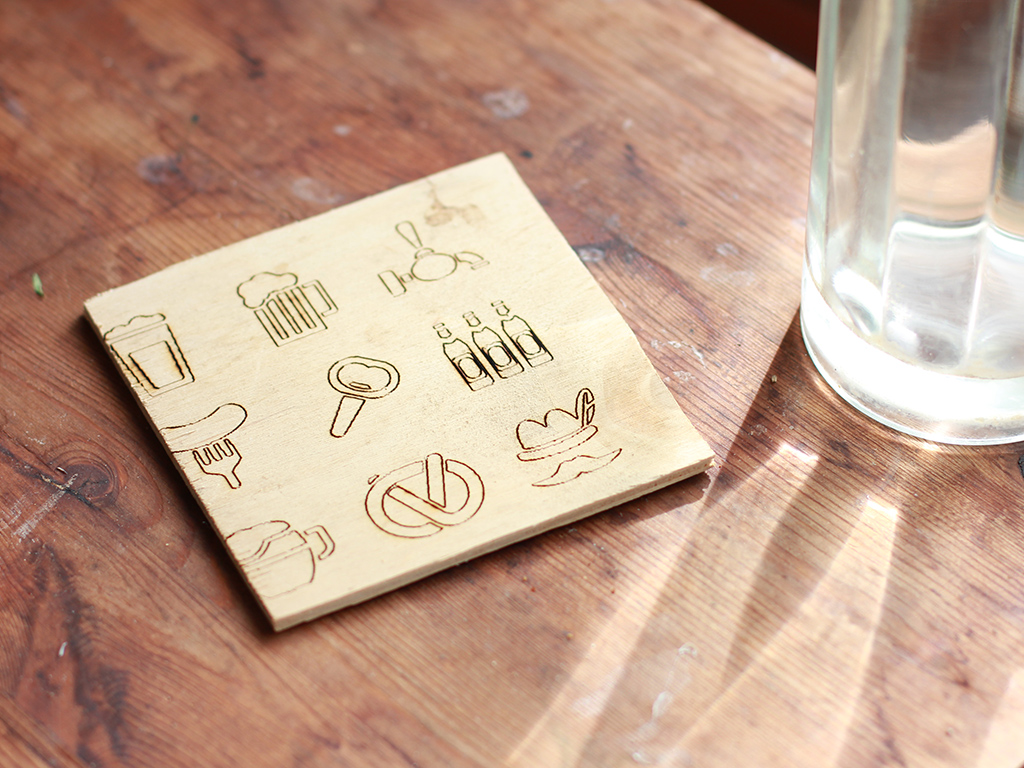
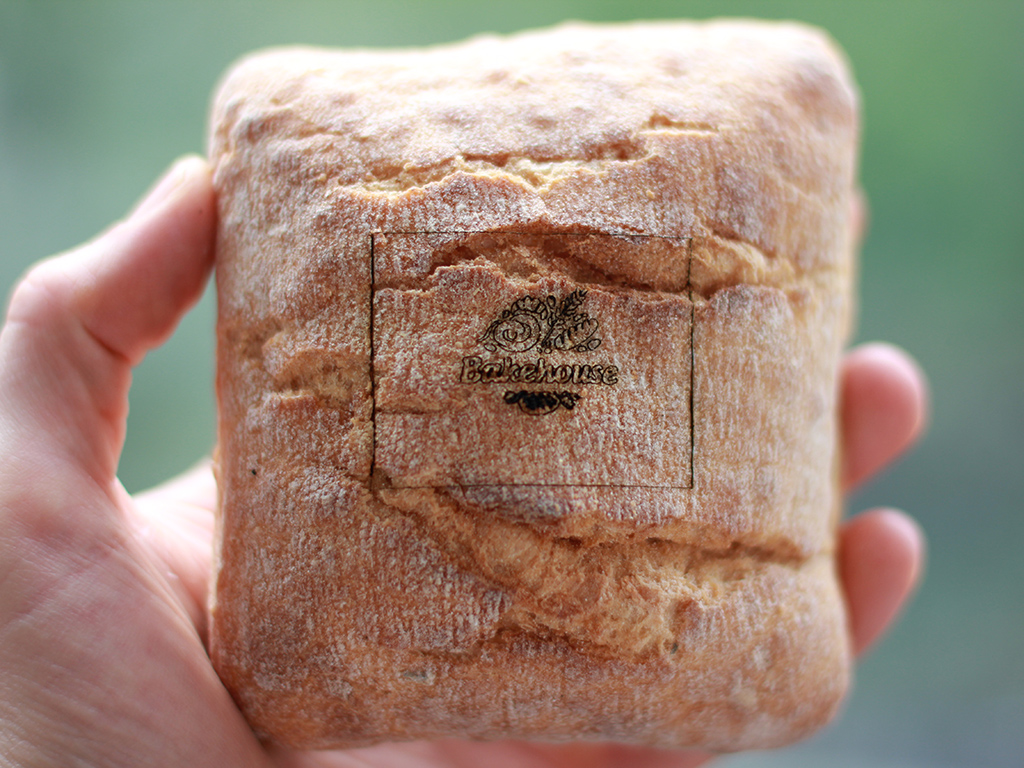
With a 3.5 watt Endurance diode laser you can engrave faster and cut deeper such materials like plywood, wood, acrylic, cardboard, hardboard, felt, leather, plastic (ABS, PLA) and many more.
The 3.5 watt (3500 mW) diode laser is a powerful and advanced laser to upgrade your 3D printer or CNC router with and is able to create beautiful engravings and laser cuts. It is very easy to install and does not require any special knowledge. It can be installed on almost any 3D printer or CNC mill. If you have any issues during installation or operation, we are always available to lend a hand. We provide the ultimate customer and after-sales support!
With our laser, you can engrave and cut a variety of materials such as
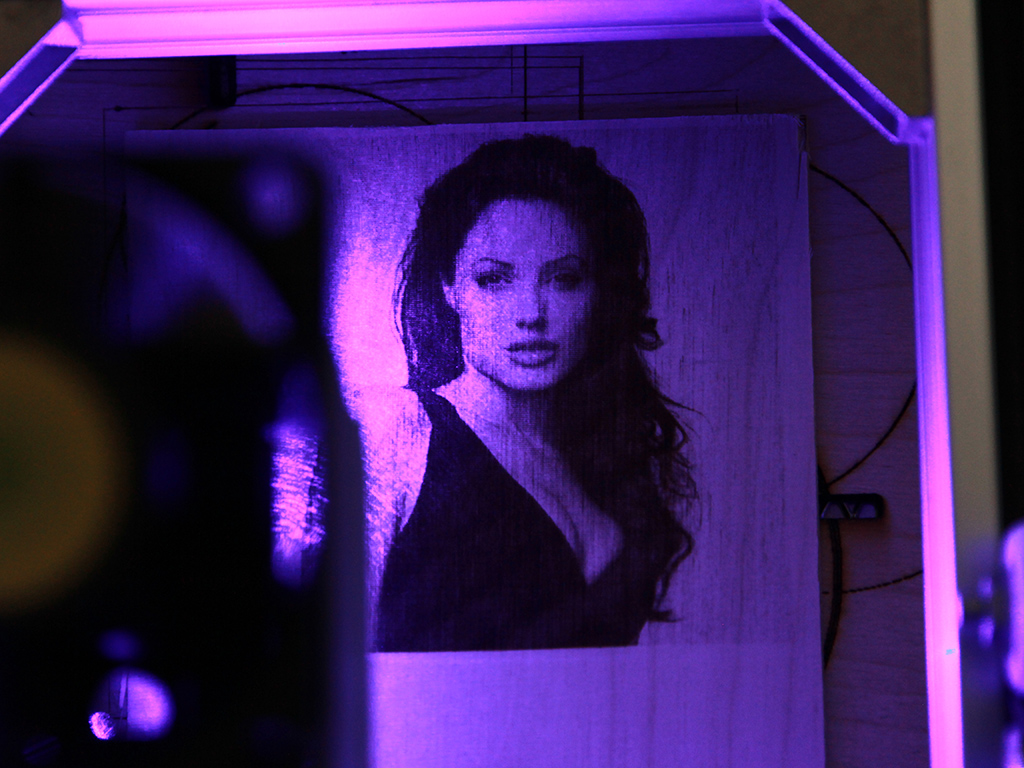
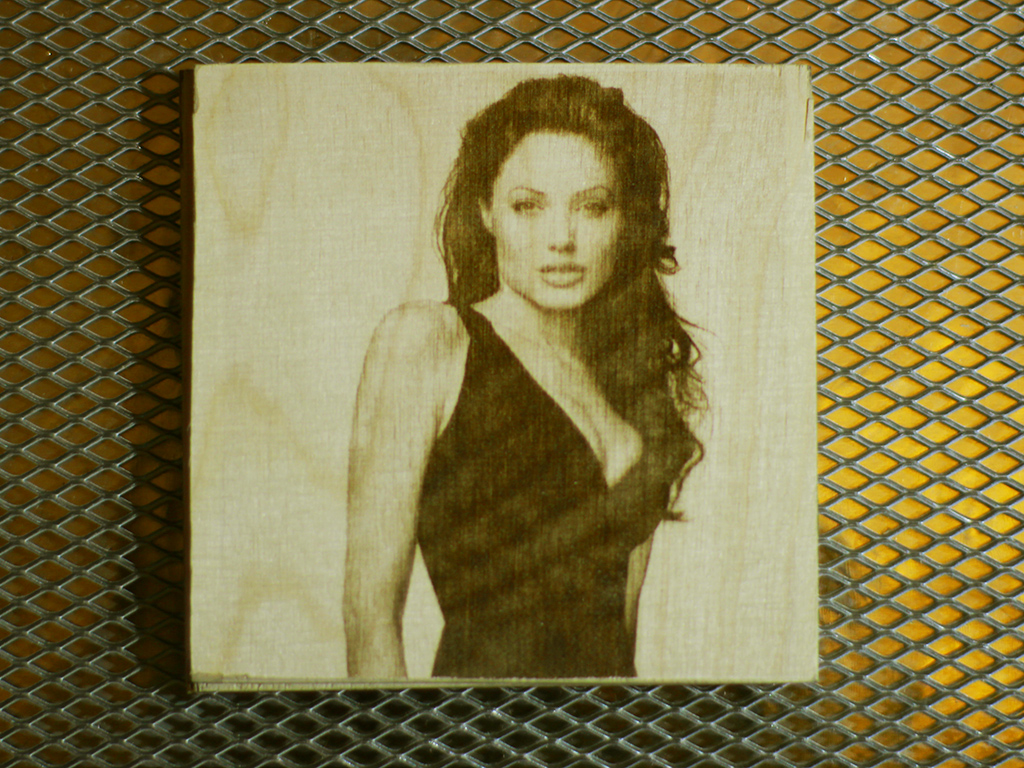
plywood / wood
acrylic
PLA / ABS
felt / fabric / fiber cloth / leather
paper / cardboard
hardboard / MDF
stone
glass
painted aluminium
and some others
Laser Type
Nichia diode
Laser Optical Peak Power Output (Impulse)
3500mW ± 10%
Laser Optical Average Power Output (CW)
3000mW ± 10%
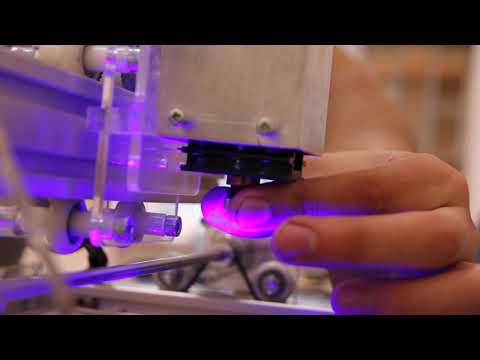
Focal Range for 3 element lens
5-8 cm (flexible)
Focal Length
2-10 cm (variable) for 3 element lens | 2-10 mm (variable) for G2 lens
Laser Wavelength
445 nm
Lens Type
3 element long focal lens / G2 short focal lens / G7 / G8
Operation Time
Tested 48-72 hours continuous
Voltage
9-16V DC (step-down DC/DC converter available upon request)
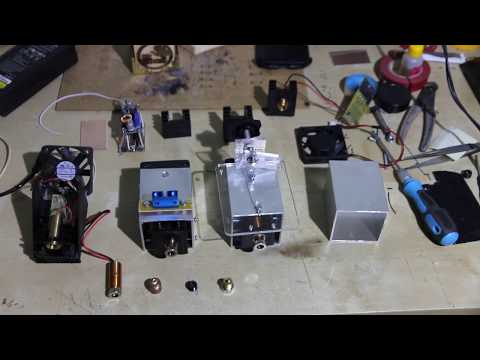
Everything that you need to know about Endurance accessories.
Goggles
always wear red or green goggles when you operate the laser. Remember Endurance lasers are class 4 item and must never be aimed in any live specie.
G2 lens
short focal lens with focal range 2-10 mm (1/10 - 2/5’’) a necessary accessory for laser cutting or laser engraving on metals.
Endurance MO1 PCB
an electronic board that allows feed the laser from external power supply (needed when your main board does not have enough power output)
Laser connectors
variety of a different wires and connectors that will be useful when you plug the laser to your board.
Laser mounts
aluminum mounts that will help you to hook the laser to you machine. 4 types with M3 screws: L, П, I, T.
Laser actuator
a Z axis actuator that will help to change laser position on Z axis. Is a good option for XY plotters with no Z-axis mechanism.
AC/DC 12V5A
an additional power supply for Endurance lasers.
AC/DC 12V1A
an additional power supply for 10 watt laser fans.
Step down DC/DC converter
a DC/DC converter that decreases the voltage down to required 12V for Endurance lasers.
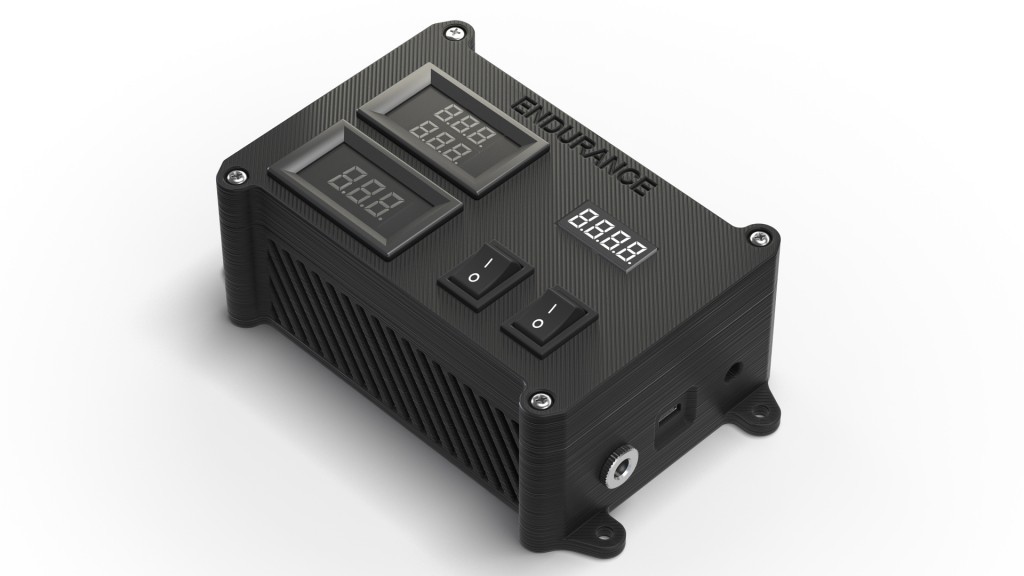
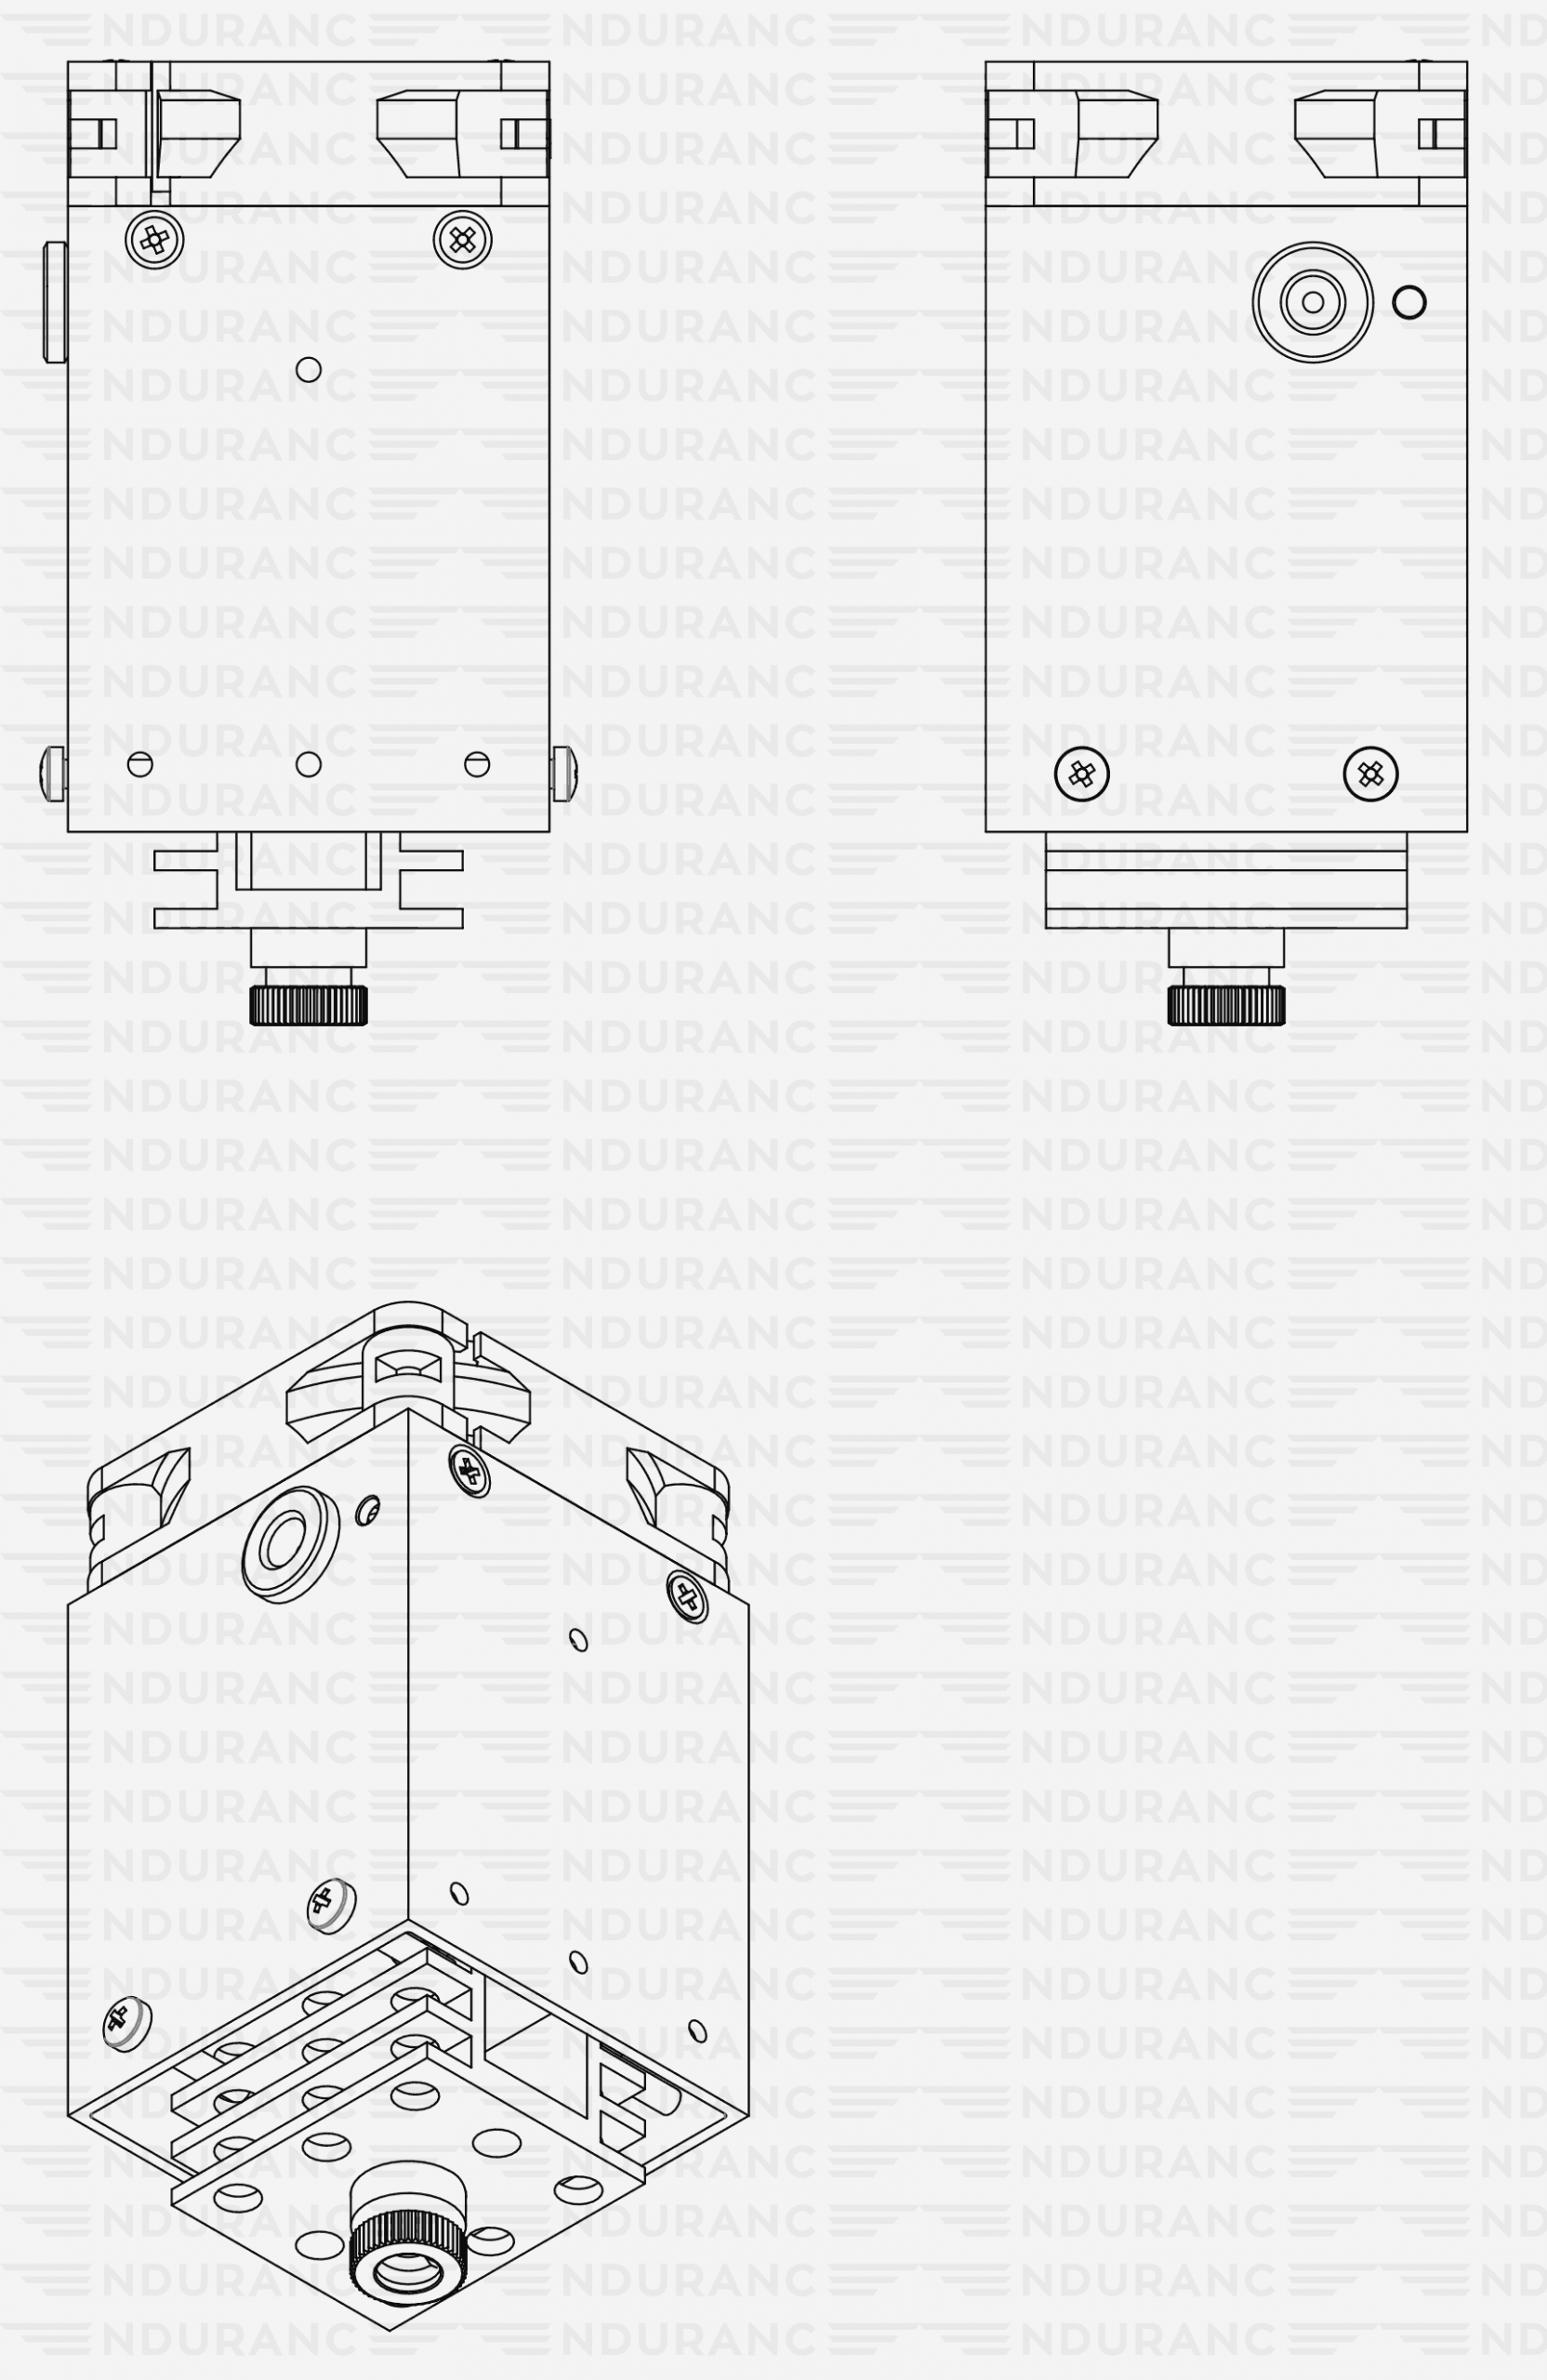
Endurance laser box
is a nice gadget (add-on) for your laser module to measure incoming voltage, outcoming voltage and current on a laser diode, laser driver module, Endurance MO1 PCB, temperature sensor and Arduino board for changing laser power.
Arduino board with an Endurance sketch
allows changing laser power (duty ratio) and a frequency of the laser. Can change the laser into impulsive mode.
Temperature sensor
additional temperature sensor for monitoring of a laser temperature.
Voltmeter
additional voltmeter for measuring incoming voltage.
Voltmeter & ammeter
additional voltmeter & ammeter for measuring outcoming voltage and current that goes to the laser diode.
DIY checking pin kit
a full it that will help you to check pins on your board, laser power, etc.
Air pump
laser addition that allows blowing the air to the place of laser cutting / laser engraving. Increases speed of a laser cutting up to 50% and reduce charring.
TEC module
Peltier cooling system for better laser cooling (increases power up to 10%).
The 3.5 watt (3500 MW) diode laser is very easy to install on almost any 3D printer or CNC machine using compatible mounts for the Prusa i3, X-Carve, Creality3D CR - 10, Wanhao Duplicator i3, Ultimaker, RepRap, Magnum, Prism, Makerbot Cube, Picasso, Hercules, SolidDoodle, Original Prusa i3 MK2, BCN3D SIGMA, Form 2, PowerSpec 3D Pro, ORD Bot Hadron, Zortrax M200, Kossel, FlashForge Creator Pro, CEL Robox, FDM and others. If you have a printer not listed, please contact us and we will make a custom mount for you.
Our lasers are very easy to operate using standard software and run on the existing 9-16 Volts of your printer or router.
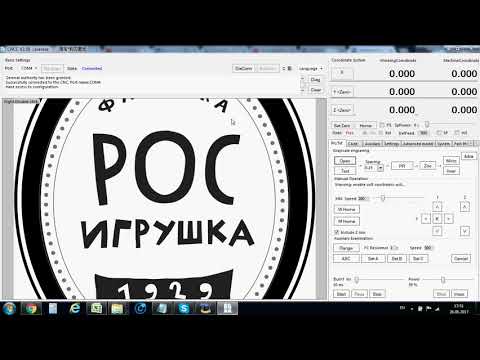
In order to create a laser engraving or a laser-cut with our 3.5 watt laser all you need to do is put the piece you want to cut or engrave onto the worktop. Just convert a jpeg image into a vector image and then convert it into g-code. Use software like T2 laser or Inkscape + plugins to create a g-code you need. Start the machine and enjoy watching it do its job. If you have any questions we will be happy to assist you any time. Just contact us via email or on our Facebook page.
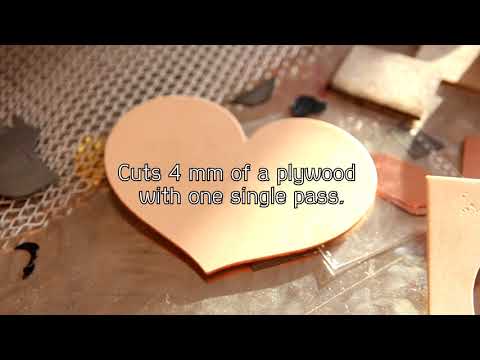
A 3.5 watt laser can cut up to 3-4mm of wood and plywood.
Please, check the power adapter’s (voltage & current) performance. Connect the TTL wire to the 12V+ to test if the laser is working. It should work full power. Watch this video.
The laser works full power but the laser power cannot be changed
Please check the g-code parameters (S / L) used for the pin to change the power. Either your PWM does not change the duty ratio or the contact of any of the laser connectors (if you run without TTL) is broken. Check with the voltmeter and ammeter if the voltage on this pin changes. Watch a video about TTL signal. Arduino with TTL.
I did everything as described but the laser does not work
We need to see a detailed photo and video of what you have done to help you with further steps. Sometimes 13N10 or LM338 die and need to be replaced. We will guide you how to do that.
Endurance MO1 PCB does not work
The Endurance MO1 PCB is a quite a simple circuit and works pretty stable, however, there is a simple way to check it out. (described on this page + video guidance)
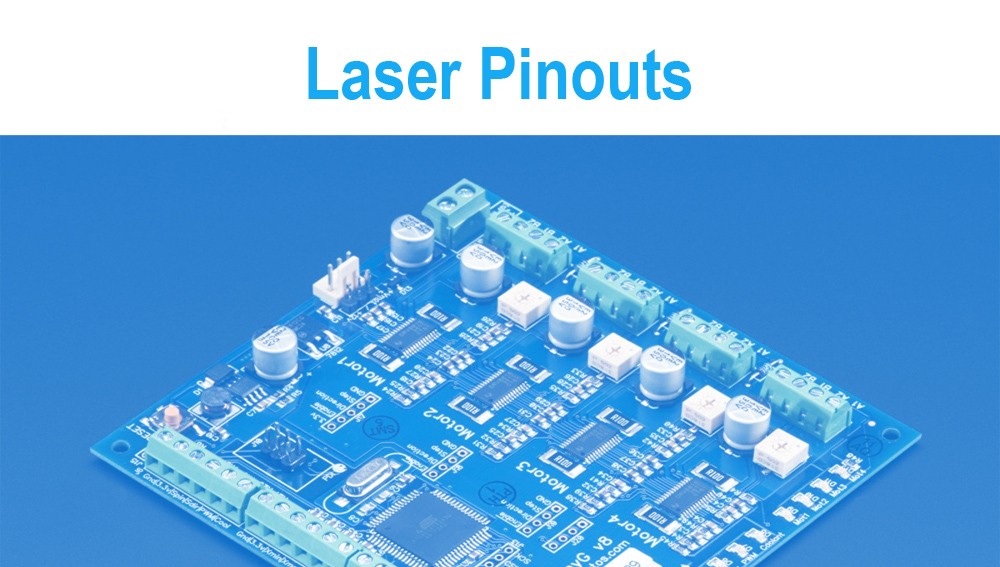
How do I find a proper pin to connect the laser?
We provide an ultimate guidance and tutorials. The laser is usually connected to the fan output on 3D printers or spindle output on CNC machines or can be connected to any other pin that is controllable, such as: D11 on the Arduino Nano. Detailed pinouts you may find here.
The laser lost its power.
The probability that this might happen is 5%. It might happen due to overheating. Avoid the laser diode and laser control board overheating. Check the temperature of the heatsink or laser driver. They must not be VERY hot (if you can touch these elements and hold on – it means that the temperature is less than 70C). If the temperature rises too high we can guide you how to reduce the voltage going to the laser diode and causing the loss of power.
I am trying to cut 3-5mm plywood using the laser, however I still did not manage to cut it with a single pass. Please assist
use a G-2 lens for laser cutting.
setup a perfect focus on a G-2 lens (make sure that focal range is something like 4-8 mm)
make sure that a plywood is very dry (you may use a 3D printer bed to warm it up)
speed parameters should be 50-150 in your g-code
make sure that the plywood is not specially treated with anti-inflammable materials
make sure that the laser runs full power and you have enough power that goes to the laser
make sure that the lens is clean and has no dust on it.
You may cut and engrave using this diode laser
Material
Laser cutting (3-25 passes to cut), average speed (50 - 150 mm / min) in g-code
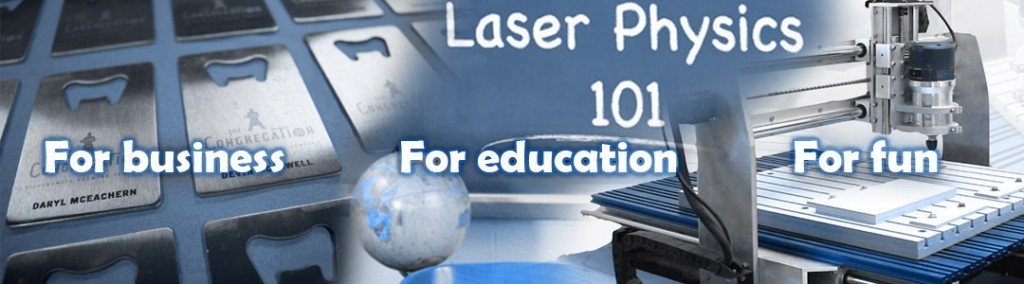
An Endurance 3 – 3.5 (3000-3500 mw) diode blue 445 nm laser head for business, education, and for fun!
About the Endurance 3 – 3.5 (3000-3500 mw) diode blue 445 nm laser head – all you need to know
The Endurance 3.5 watt (3500 mW) diode laser. A solid-state laser attachment (accessory) for your 3D printer or CNC machine (router). The 3.5 watt (3500 mW) diode laser is a powerful and advanced laser to upgrade your 3D printer or CNC router and is able to create beautiful engravings and laser cuts. You can use it to work with such materials as plywood, wood, acrylic, PLA / ABS, felt, hardboard, stone, glass, leather.
Power supply for the Endurance 3 – 3.5 (3000-3500 mw) diode blue 445 nm laser head.
An Endurance laser lens pack. 4 different lens for your diode laser.
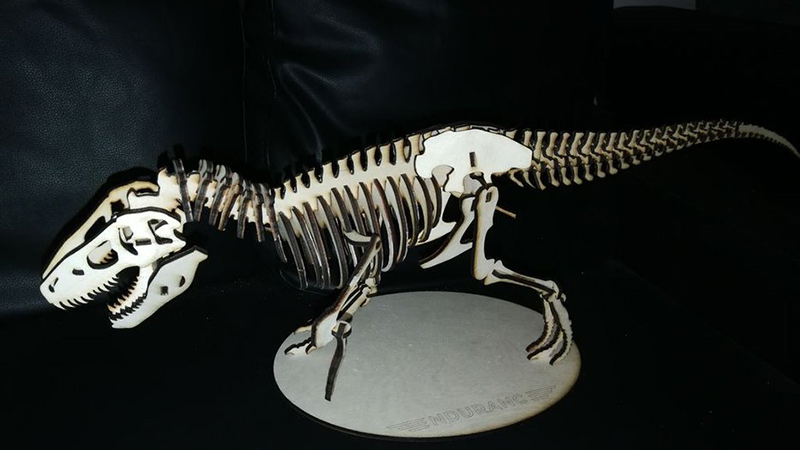
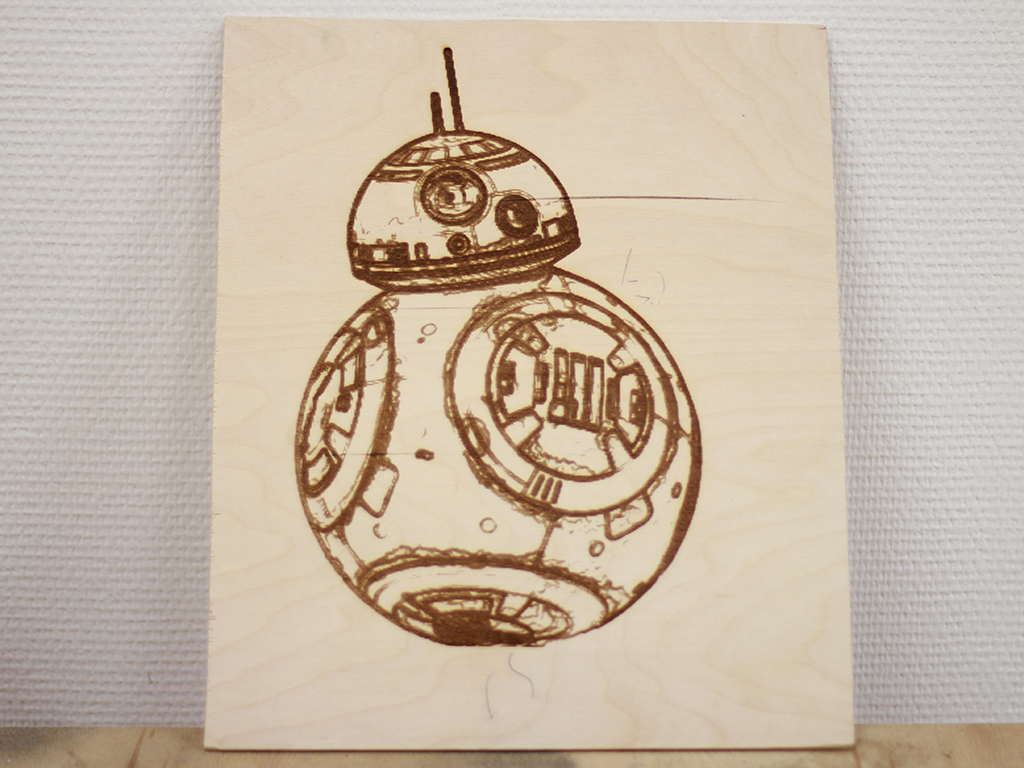
Our customers experience
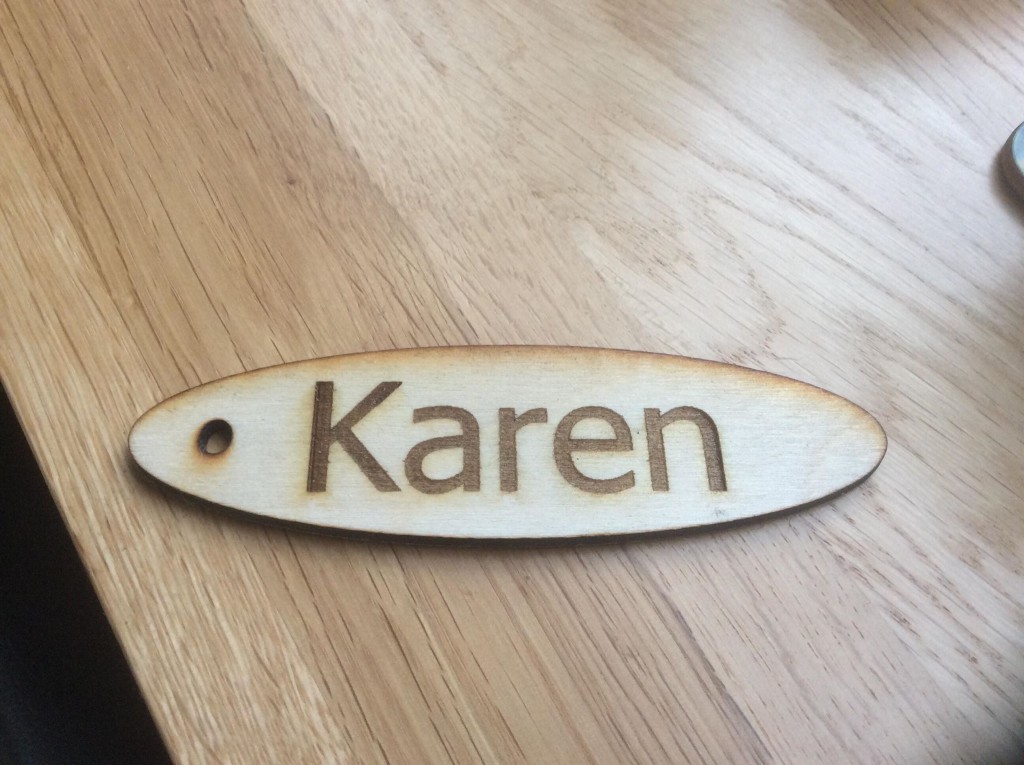
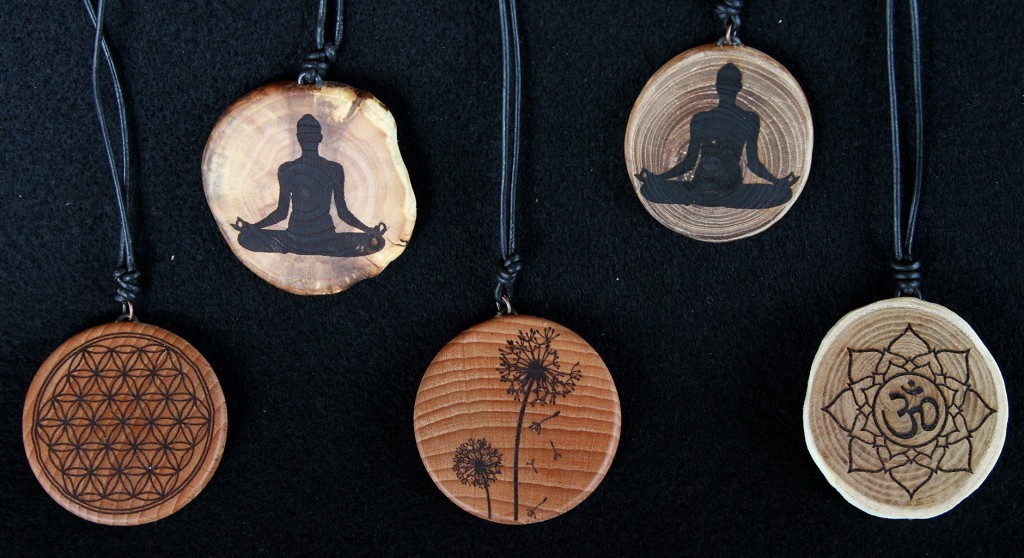
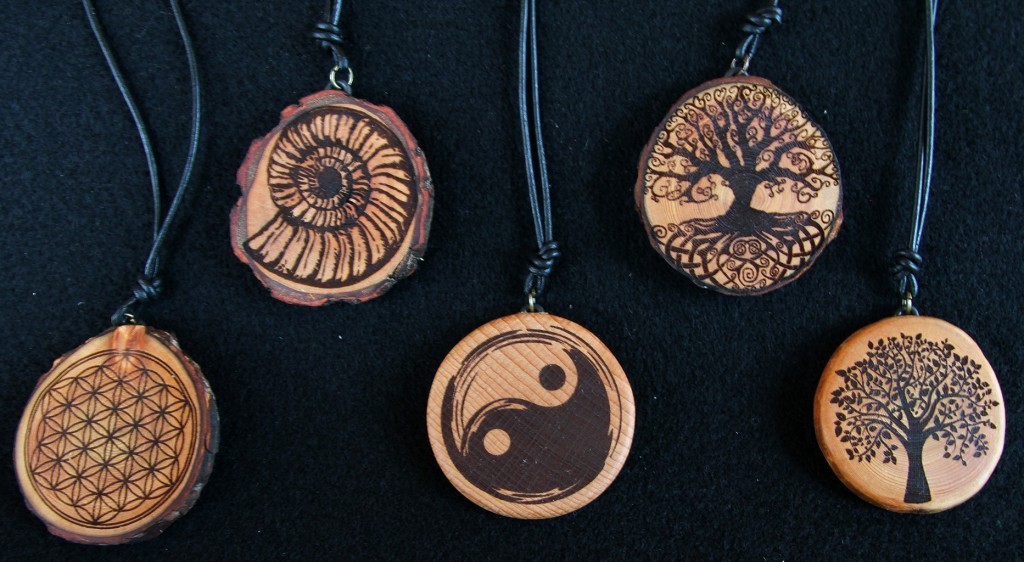
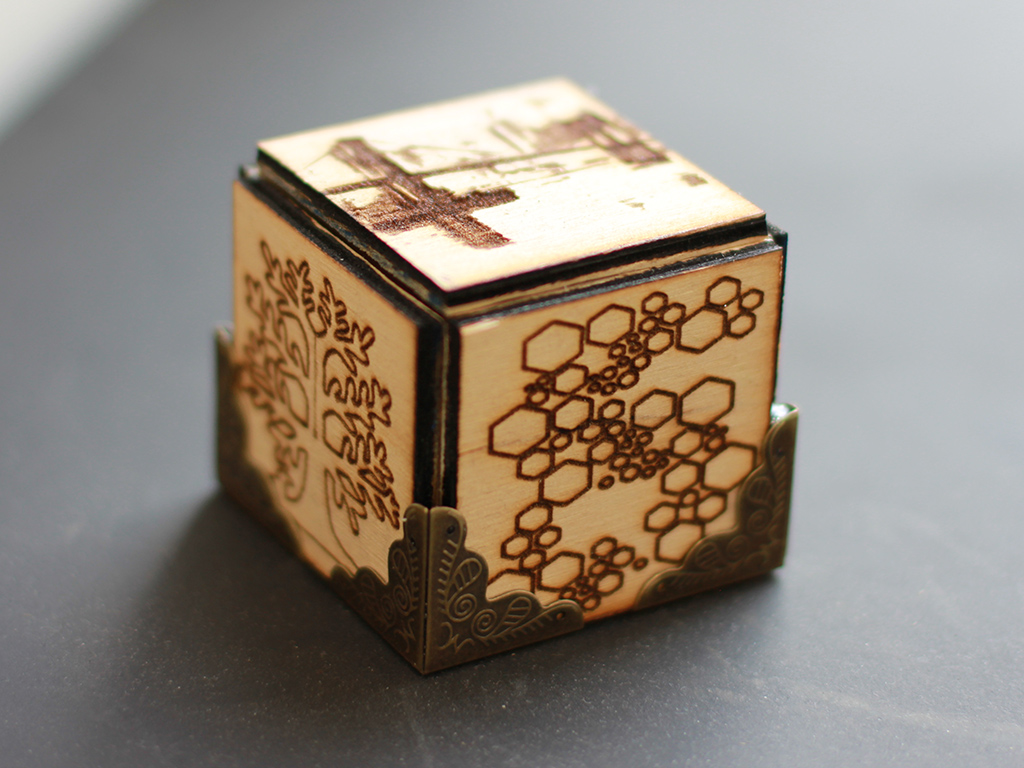
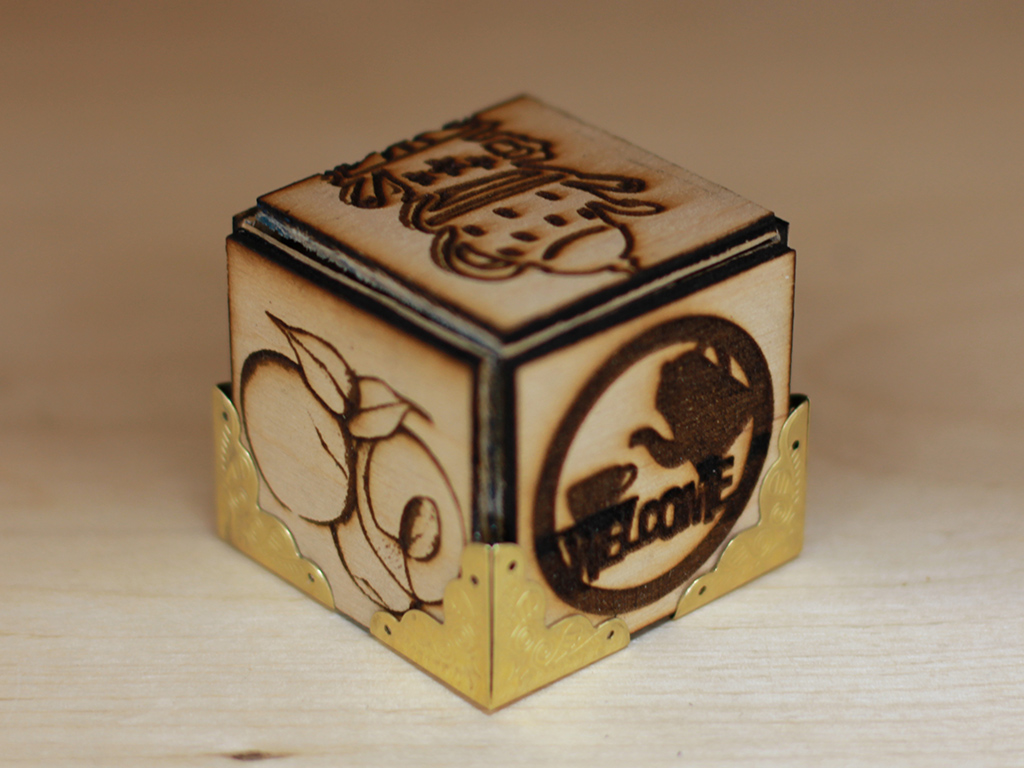
The entire thing is cut from 3mm – 3.4mm plywood using your endurance 3.5 watt Laser, it was a good project and I am actually really happy with how it turned out.